We had space under the window in our room, so we decided to get a dresser. We wanted something that would last, and continue to be practical for the baby as it grows. We also wanted it to double as a changing table in the early days. I know myself, I've spent a lot of time around babies, and I live in a two story house- so I know that kid's diaper is going to get changed on a blanket on the floor a lot. However, a designated changing area can be nice for some of the nastier blowouts babies have. Besides, my bed is pretty cushy and when we're upstairs we'll probably be more comfortable changing/dressing a baby standing at the changing table than hunched over on our bed.
We didn't want to buy a cheap Target or Walmart particle board dresser. We've bought our fair share of furniture like that, and some of it's already falling apart- not 5 years later. I really liked the look of this one from Ikea:
 |
| Photo Source |
But at $229 plus tax, plus shipping, (or gas money to drive to the nearest Ikea 2 hours away, not to mention finding a vehicle large enough to transport the dresser home), it was too expensive. We decided instead to buy something used and refinish it. It took some patience, many of the used dressers posted on craigslist were more expensive than that, but we finally got one for $75. When Chris told her what we were buying it for, she gave us their old changing pad for free.

We took off the door, took all the drawers out, and flipped it upside down to add some 4x4 feet to it and gain a little height.

We decided to replace the hardware completely, (in hindsight I guess we may have been able to refinish it with some sort of spray paint- not sure on that one). We had trouble finding handles with screw holes the same distance apart as the ones we took off. You can order them custom made from Home Depot, but that was too rich for our blood. Instead we picked hardware we liked, filled in the old holes, and drilled new ones. We definitely didn't use newspaper to fill the bulk of the old holes and then just cover the top with Elmer's wood filler.
Or that's exactly what we did.
But I imagine if you google it there's some other solution that makes more sense. Anyway it worked out alright for us.

 |
| We used this stuff to fill in an assortment of random scrapes and screw holes on the dresser and it worked well. It goes on much like spackle, and dries hard. |


Then we thoroughly sanded the whole thing, especially the edges, before painting. I knew I was going to try an antiquing technique I had used on our coffee table to mimic the textured look of the Ikea dresser, so I wanted bare edges that would soak up stain later.


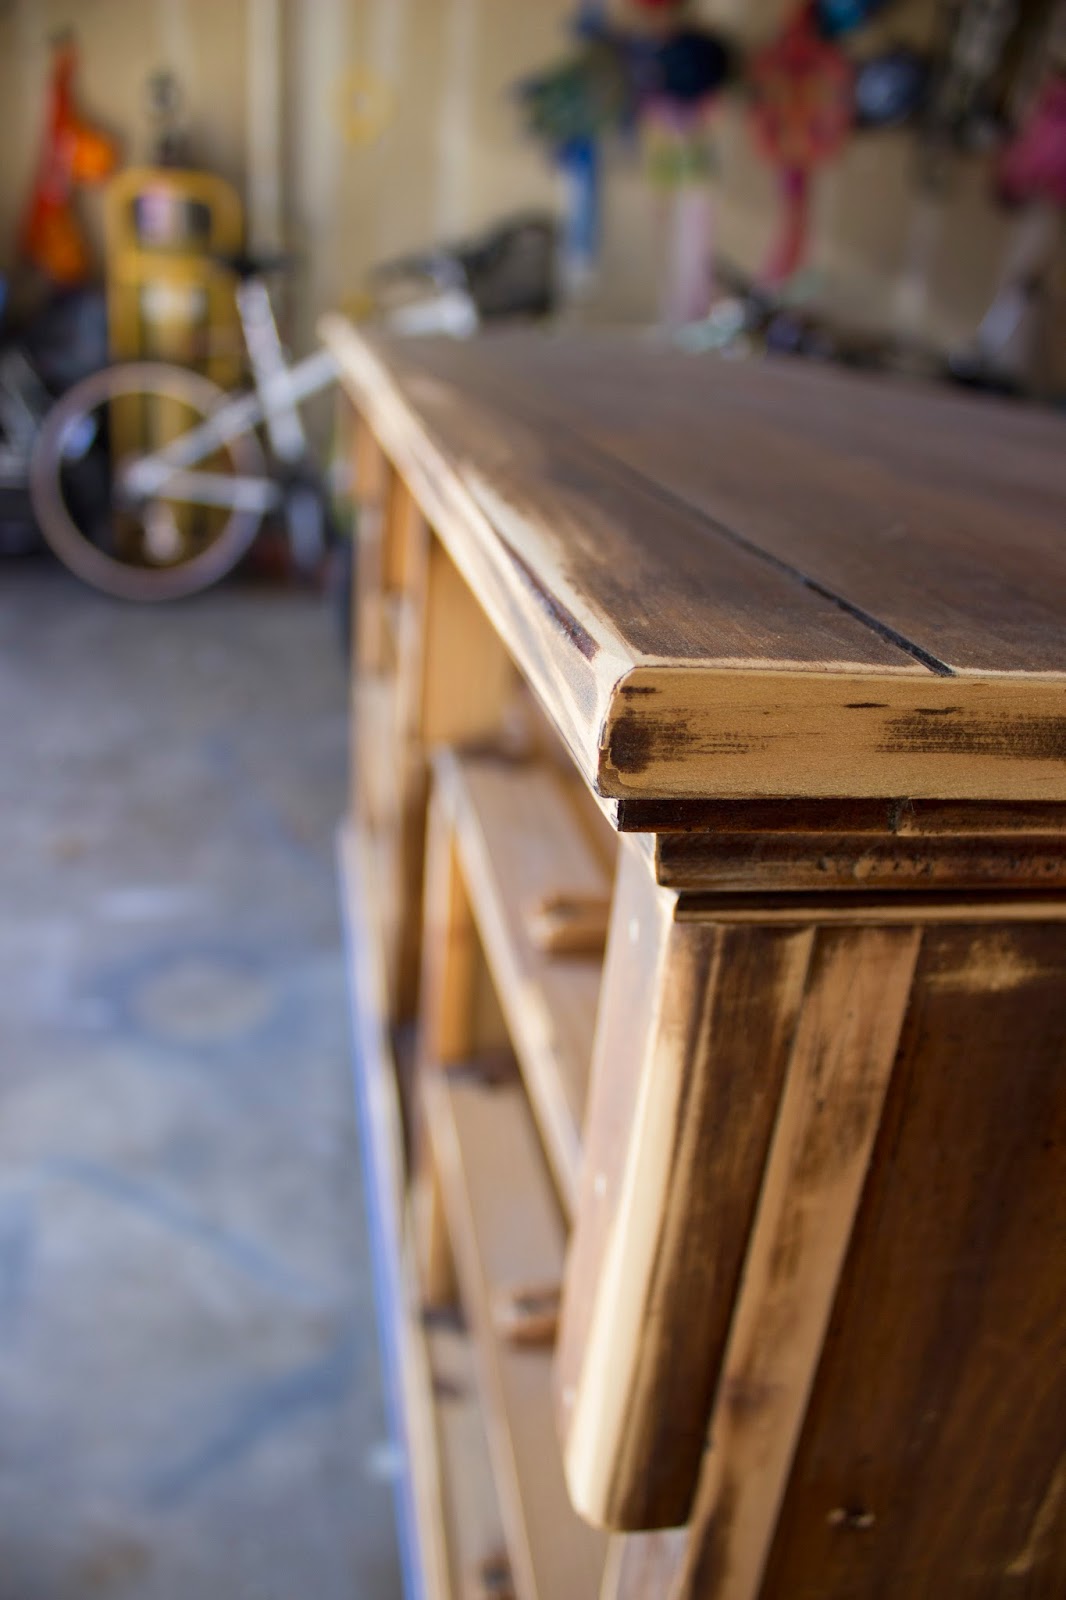
We wiped it down to get rid of the dust, and then we painted. We bought our paint at home depot, but unfortunately I can't for the life of me remember what this color is called. We decided to leave the door off and use the middle section as a cubby hole instead- so we painted that, too.

The paint went on a little thicker than I would have liked, (we tried using a roller and even though it was thin, I don't think it was thin enough). We only did 2 coats, but I think we would have been better served by a larger number of thinner coats. Anyway, the texture of the thicker coats didn't bother me enough to sand it off and try again.
After the dresser was dry, I roughed up my edges and applied a stain, (Minwax dark walnut). After I let it sit a few minutes, I wiped the whole thing down with a rag. There were a few spots that were still lighter than I wanted them, so I repeated the process. Nothing changed at all. My only guess is there was still some oil in the wood, and it simply couldn't absorb more stain.


When everything was dry we attached our new hardware and put all the drawers in place.

At this point I realized I'd accidentally made a dresser that looks almost exactly like Doctor Who's Tardis.

Whoops! Oh well, good thing we're big Doctor Who fans. Slim is jealous- she wants a dresser like this now, too.
I'm having trouble taking pictures of it in our room- the only light source is the window directly behind it. I did my best anyway.


I haven't really decided what is going live permanently on top of the dresser. I think that's going to depend on how quickly the drawers fill up once we have more of the things we'll need for the baby. In the meantime, I did scrub the changing pad and buy a cover for it. Charlie is pretty confident I did that for him.
In the end, we spent $75 on hardware, paint, sandpaper, and wood filler- so the dresser (and changing pad) cost us a grand total of $150. I think that's a pretty good deal! We're really happy with the way it turned out, and looking forward to using it. For the next 4 months I guess it will serve as Charlie's bed.
No comments:
Post a Comment